|
 |
This install takes 10 to 30 minutes and requires nothing more than the ability to tie one's own shoes and an 8mm socket.
Click on the images for larger views. |
WARNING:
- DO NOT touch the bulbs (glass part) - your fingers have oil on them which will adversely effect the performance and longevity of the bulb or may even cause it to burst once you turn it on. If you touch the bulb by accident, make sure to wipe it down with rubbing alcohol before installation.
- BULBS ARE FRAGILE - do not drop the bulb on a hard surface as it is likely to crack.
|
Step 1: Getting the required items together
This install requires:
- 1 set (pair) of 9006 bulbs (PIAA Extreme White Plus seem to be the preferred model but the install is the same for any 9006 bulb)
- 8mm socket and either screwdriver type socket driver or a ratchet wrench and a 3" or longer extension
- A BMW M3 (E46)
- 10-30 minutes of free time
|
|
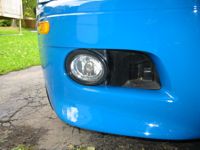
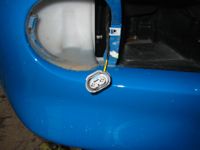
Starting Point |
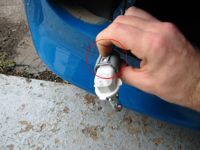
Step 2: Removing the plastic fog light cover
- Press on the interior side of the plastic fog light cover (see image)
- Pull the interior side toward you and pull the exterior side out of the two slots in the bumper
|
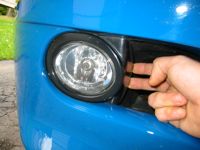
Removing the plastic cover |
Step 3: Removing the fog light housing retaining bolt
- Once the plastic cover has been removed you will be able to see a single 8mm bolt on the interior side of the fog light housing (see image)
- Remove the bolt (be careful not to drop it inside the brake duct).
|
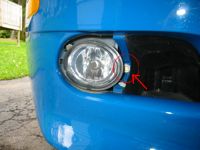
Bolt locations |
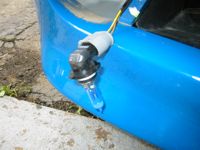
Step 4: Removing the fog light housing from bumper
- Carefully pull the fog housing out of the bumper - you may have to wiggle it a little bit.
|
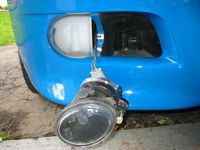
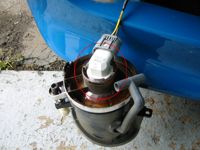
Exposed housing |
Step 5: Removing the fog light bulb socket from fog light housing
- The bulb sits in a socket which is mounted in the back of the fog light housing.
- Remove the fog light socket by rotating the socket gently to unlock it from the housing.
- Once socket is released, pull it out of the housing.
- Set the housing aside.
|
Bulb socket mount |
Step 6: Removing the old bulb from socket
- The socket has a retaining clip which serves to secure the bulb in the socket.
- Press down on the tab located toward the rear of the socket to release the bulb (see image).
- Gently pull the bulb out of the socket by the plastic at the base of the bulb.
|
Depressing the socket detent
Empty socket housing |
Step 7: Installing the new bulb in the socket
- The new bulb will have a raised knotch on the flat side of the plastic base that is away from the direction that the bulb itself points.
- Place the new bulb in the socket with the side with the knotch matched to the side of the socket with the retaining clip.
- Be careful not to touch the glass part of the bulb
- When properly seated, the bulb will "snap" into the socket and the knotch will be in the opening in the retaining clip
|
New bulb installed |
Step 8: Reassemble in reverse order and repeat steps to complete second light |
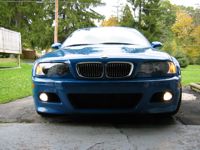
Driver's side: stock, passenger side: PIAA
Note: PIAA looks much whiter in person
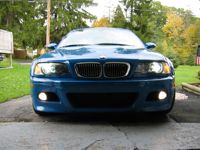
PIAA's in both lights and Xenon's on |

|